

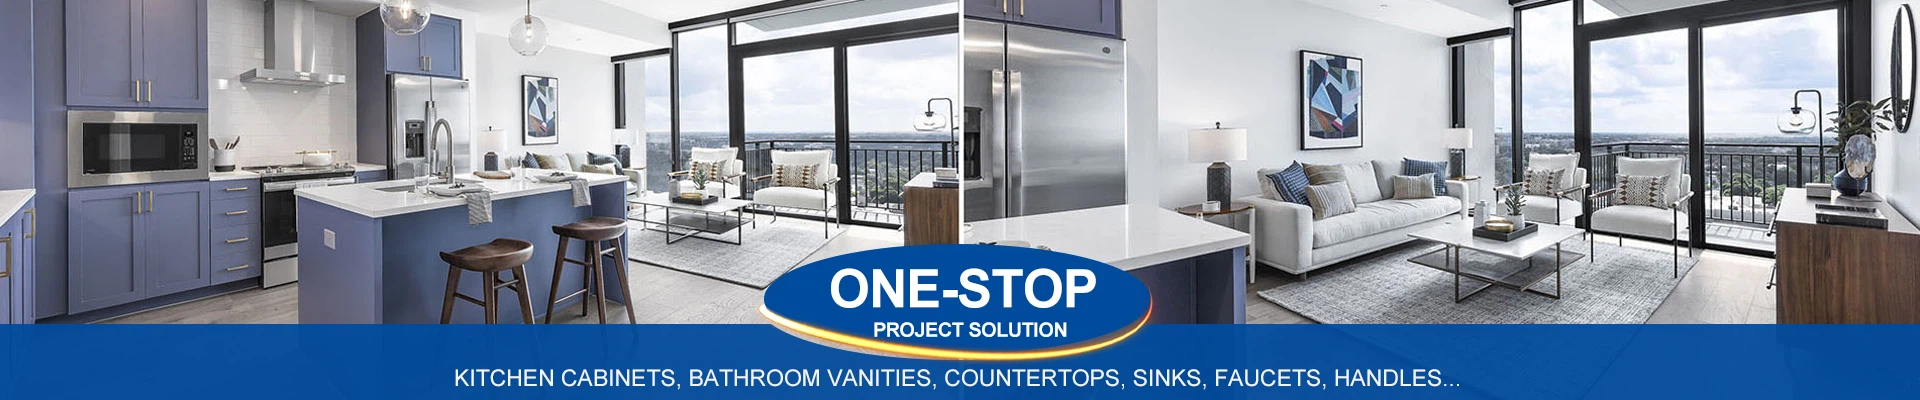
Advantages Of Countertops
Mar 25, 2025
Leave a message
The advantages of countertops mainly include the following aspects:

Aesthetics and durability: Stainless steel countertops have a smooth, bright surface, are easy to clean, and will not bleed or discolor. In addition, the stainless steel countertop can be integrated with the sink, avoiding the problem of dirt and grime around the sink, making daily cleaning more convenient.
High temperature and wear resistance: Stainless steel countertops have excellent high temperature and wear resistance. Even if used in a high temperature environment, they will not crack or deform. At the same time, stainless steel countertops are wear-resistant and scratch-resistant, and will not be easily scratched even if they are cleaned with a steel wool.
Environmental protection and health: Stainless steel countertops are environmentally friendly, will not release harmful substances, and will not mold, avoiding the risk of mold infection. This is especially important for family health.
Easy to clean and maintain: Stainless steel countertops are smooth and not easy to absorb water, making them very easy to clean. Just wipe with a damp cloth to keep them as bright as new.
In addition, stainless steel countertops are not as easy to collect dirt as other materials, reducing the difficulty and frequency of cleaning.
Versatility and adaptability: Stainless steel countertops are suitable for various kitchen design styles, from modern simplicity to European classical style. Its sturdy and durable characteristics make it perform well in different functional areas (such as sink area, cutting area and cooking area).
are granite countertops expensive

Granite countertops are a popular choice for kitchens and bathrooms, offering a blend of natural beauty and durability. Their cost can vary significantly based on several factors. Here's a detailed breakdown to help you understand the pricing and determine if they fit your budget.
1. Cost Overview: A Mid-Range Natural Stone
Granite is generally considered a mid-to-high-range countertop material. It's more affordable than premium options like marble but typically costs more than quartz, laminate, or tile.
Average Price Range: You can expect to pay between 40to100+ per square foot for granite countertops, including installation. The total cost for a typical kitchen (30-40 square feet) often falls between 2,000and4,500.
Budget vs. Premium: The wide price range exists because granite is a natural material. Common varieties are more affordable, while rare stones with unique patterns and colors command a premium price.
2. Detailed Cost Breakdown
The final price is influenced by the cost of the slab itself and the numerous factors involved in its fabrication and installation.
| Cost Factor | Impact on Price | Details & Examples |
|---|---|---|
| Material Grade (Tier) | Low Grade (40−60/sq ft): Common patterns, simpler colors (e.g., Uba Tuba, Santa Cecilia). Mid-Grade (60−80/sq ft): More unique veining and colors (e.g., Giallo Ornamental). High Grade (80−175+/sq ft): Rare, exotic stones with dramatic patterns (e.g., Blue Bahia, Titanium) . |
The availability and origin of the stone greatly affect its price. Exotic imports are far more expensive. |
| Slab Thickness | Standard (2 cm / ¾"): Requires a plywood sub-top for support. Premium (3 cm / 1¼"): More durable, doesn't need a sub-top, but the material itself is more expensive. |
3cm slabs are heavier and more luxurious but add to the total cost. |
| Edge Profiling | Basic (Pencil Round, Eased): Minimal additional cost. Decorative (Ogee, Bullnose, Dupont): Can add 10−50 per linear foot. |
Elaborate edges require more skilled labor and machining time. |
| Fabrication & Installation | Sinks & Cooktops: Cutting holes adds 150−500 depending on complexity. Seaming: Joining two slabs costs 100−500 per seam. Backsplash: A 4" granite backsplash adds 300−700. |
These are critical labor costs that vary by fabricator and project complexity. |
3. Pros and Cons: Is the Cost Worth It?
Pros (Why it's a valued investment):
Durability: Highly heat, scratch, and stain-resistant (when properly sealed). It can last a lifetime.
Unique Beauty: Each slab is one-of-a-kind, adding natural, organic beauty to your home.
Home Value: A desirable feature that can increase resale value.
Natural Material: A plus for homeowners seeking a non-synthetic surface.
Cons (Potential Drawbacks):
Maintenance: Requires resealing every 1-3 years to maintain its stain resistance.
Porosity: Spills like oil or wine can stain if not wiped up quickly, especially on lighter colors.
Hardness: Can chip if subjected to a sharp, heavy impact. Seams can be visible.
Weight: Extremely heavy, requiring strong cabinet support.
4. Ways to Save Money on Granite
If you love the look of granite but are on a tighter budget, consider these strategies:
Choose a Level 1 (Budget) Granite: Options like Uba Tuba, Giallo Ornamental, or New Venetian Gold offer great durability at a lower cost.
Use Granite as an Accent: Install granite on the island and use a more affordable material like quartz on the perimeter.
Opt for a Simpler Edge Profile: A standard eased or pencil round edge is functional and cost-effective.
Shop Remnants: For small projects like a bathroom vanity or a kitchen island, ask fabricators if they have "remnant" slabs (leftover pieces) sold at a deep discount.
Get Multiple Quotes: Prices vary significantly between fabricators. Get at least 3 detailed quotes that include all costs (template, fabrication, installation, sealing).
5. Granite vs. Quartz: A Quick Comparison
Quartz is granite's biggest competitor. It's an engineered stone made from crushed quartz and resin.
Price: Quartz is often comparable, ranging from 50−120 per square foot.
Pros: Non-porous, so it never needs sealing. More consistent color and pattern. Highly stain-resistant.
Cons: Can be damaged by high heat. Not as natural-looking (patterns can repeat).
Conclusion
Granite countertops are not the cheapest option, but they offer excellent value for their durability and timeless, natural appeal. While the upfront cost is an investment, their longevity and ability to boost your home's value make them a financially sound choice for many homeowners.
Your final cost will depend heavily on your choice of slab and the complexity of your installation. To get the best deal, prioritize a mid-grade stone for the best balance of beauty and cost, and invest in a highly reputable fabricator and installer-their skill is crucial to a beautiful, long-lasting result.
Final Tip: Always visit a stone yard in person to select your exact slab. Photos online cannot capture the true color and movement of the stone.
can countertop microwave be built in

Excellent question. This is a common point of confusion in kitchen design.
The short and critical answer is: No, a standard countertop microwave is not safe to be built into cabinetry.
However, there are safe and approved ways to achieve a built-in, streamlined look. Here's a detailed breakdown of why it's unsafe and what your correct options are.
1. Why Standard Countertop Microwaves Are Unsafe for Built-In Installation
Standard microwaves are designed for one thing: to sit on a countertop with plenty of open space around them. Building one into a cabinet creates serious hazards:
Ventilation & Overheating: Countertop microwaves vent their exhaust heat through vents on the sides and back. Enclosing it in a cabinet traps this heat, causing the microwave to overheat. This can lead to:
Fire hazard from excessive heat buildup.
Premature failure of the microwave's internal components.
Insufficient Clearance: Manufacturer's manuals specify minimum clearance spaces (usually several inches on the top, sides, and back) that are impossible to provide in a standard cabinet enclosure.
Electrical Safety: The power cord is not rated to be run through walls or cabinets. It must plug directly into a dedicated outlet.
Attempting to build a standard microwave into a cabinet is a significant fire risk and will void its warranty.
2. Safe & Approved Alternatives for a Built-In Look
You have three safe, code-compliant options to integrate a microwave into your cabinetry.
A. "Built-In" Microwave Models
What they are: These are microwaves specifically designed and tested to be installed in cabinetry or a wall. They are the only truly safe option for a fully integrated look.
How they work: They feature a front ventilation system that exhausts heat through a vent located on the bottom of the unit's face. This allows them to be installed in an enclosed space without overheating.
Installation: They require a precise-sized cabinet opening and must be hardwired into a dedicated electrical circuit by a professional, as they do not have a standard power cord.
Cost: Significantly more expensive than countertop models (500−1,500+).
B. Over-the-Range (OTR) Microwave / Range Hood Combo
What they are: A common and space-saving solution that combines a microwave with a vent hood for your stove.
How they work: They are designed to be installed on the wall above your cooktop, venting cooking fumes and microwave heat outside or through a recirculating filter. They have specific installation kits for mounting.
Considerations: You lose cabinet storage space above the stove. Height can be an issue for shorter users.
C. Using a Microwave Trim Kit
What it is: A metal frame designed by manufacturers for specific countertop models that allows them to be installed in a larger wall opening, giving a "built-in" appearance.
How it works: The kit creates a finished look and provides the mandatory extra ventilation space around the microwave that the manufacturer requires. The microwave must still be plugged into an outlet inside the cabinet.
Important: You must use a trim kit that is explicitly designed for your exact microwave model. This is not a universal solution.
Comparison of Your Options
| Option | Pros | Cons | Best For |
|---|---|---|---|
| True Built-In Microwave | Safest, most seamless, premium look | Very expensive, requires professional installation | High-end kitchen remodels |
| Over-the-Range (OTR) | Saves counter space, combines with vent hood | Loss of cabinet space, can be too high for some | Small kitchens, modern layouts |
| Trim Kit | More affordable than true built-in, uses standard microwave | Only works with specific models, still requires careful installation | DIYers wanting a custom look on a budget |
| In a Microwave Shelf/Cabinet | Affordable, provides ventilation | Not fully flush, still uses counter space | Keeping counters clear without a full remodel |
3. The Safest DIY-Friendly Compromise: A Microwave Shelf or Cabinet
If you want to free up counter space without the cost of a true built-in model, the best solution is to install a dedicated microwave shelf or cabinet.
This is a cabinet or shelf that is open on all sides, specifically designed to hold a microwave.
It provides the necessary ventilation while keeping the microwave at a comfortable height and off the counter.
Ensure there is an electrical outlet inside or directly behind the cabinet to plug it in.
4. Key Installation Tips for Any Method
Outlet Placement: The outlet should be on a dedicated circuit to prevent overloading. For a shelf or trim kit, place it inside the adjacent cabinet to hide the cord.
Follow Codes: Always follow local electrical and building codes. A licensed electrician should handle any new wiring.
Read the Manual: Never ignore the manufacturer's installation and clearance guidelines. They are written for your safety.
Conclusion
Do not build a standard countertop microwave into a cabinet. The fire risk is real and serious.
For a truly integrated, built-in look, invest in a microwave specifically designed for built-in installation. For a more budget-friendly option that saves counter space, use a manufacturer-approved trim kit or install a dedicated open shelf or cabinet that provides full ventilation.
Prioritize safety and always follow manufacturer instructions and local codes to enjoy your microwave for years to come.